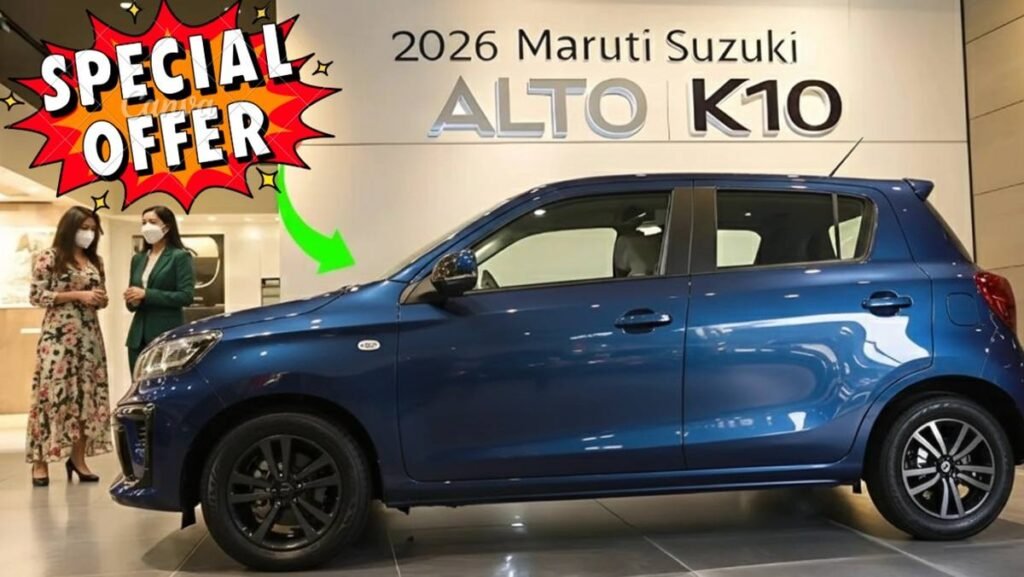
Maruti Suzuki December 2025 Offers: साल के आखिर में बंपर छूट, Alto K10 से Grand Vitara तक बड़ी बचत का मौका
अगर आप 2025 के आखिर (end of 2025) में new car purchase करने का मन बना रहे हैं, तो Maruti […]
अगर आप 2025 के आखिर (end of 2025) में new car purchase करने का मन बना रहे हैं, तो Maruti […]
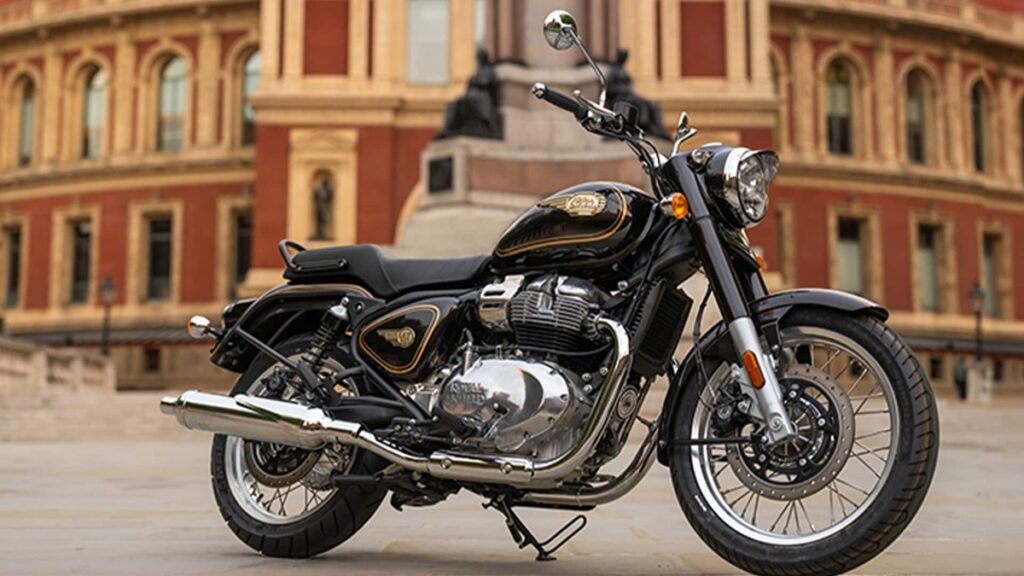
Royal Enfield का नाम आते ही सबसे पहले जिस बाइक की तस्वीर दिमाग में आती है, वो है Bullet। दशकों
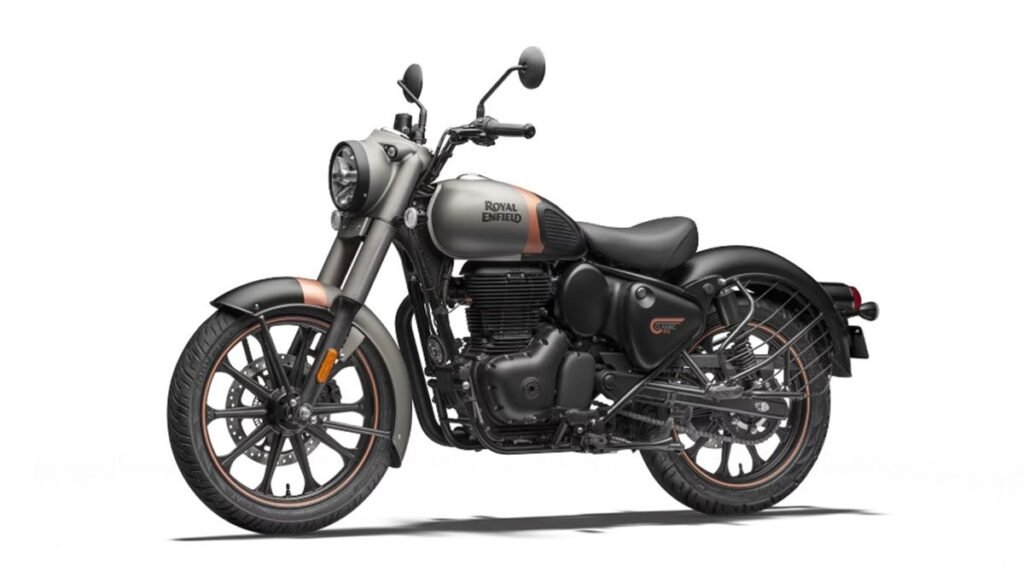
Royal Enfield Classic 350 भारत की उन बाइक्स में से एक है, जिनका craze सालों से कम नहीं हुआ। इसका

Poco M8 Series: Xiaomi का popular sub-brand Poco एक बार फिर budget और mid-range smartphone segment में हलचल मचाने की

अगर आप लंबे समय से एक premium iPhone खरीदने का प्लान बना रहे थे, तो Flipkart की End of Season

Redmi ने एक बार फिर साबित कर दिया है कि budget और mid-range smartphone segment में उसका कोई मुकाबला नहीं
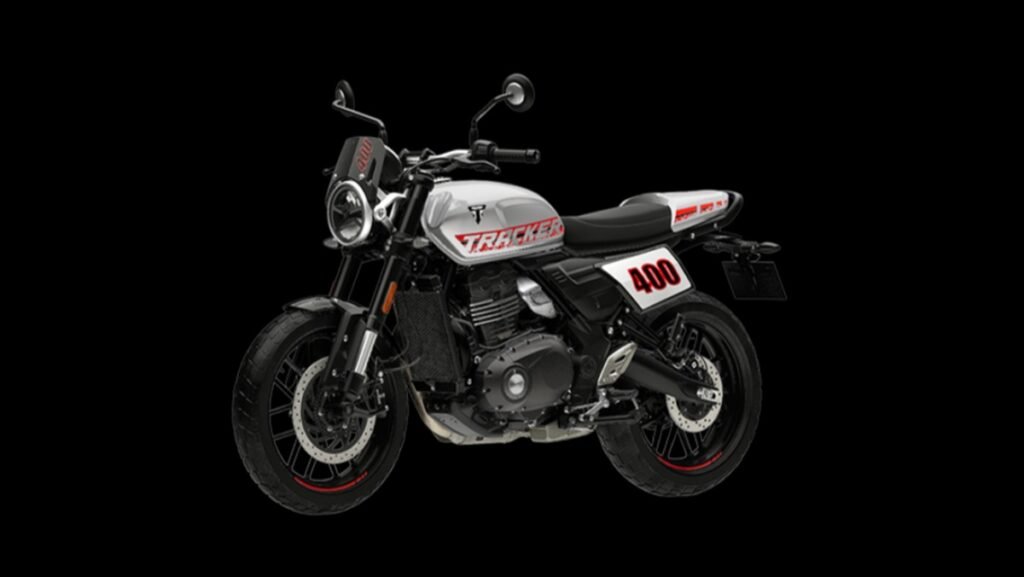
Triumph Motorcycles ने अपनी 400cc Modern Classics lineup को और expand करते हुए UK market में Triumph Thruxton 400 को
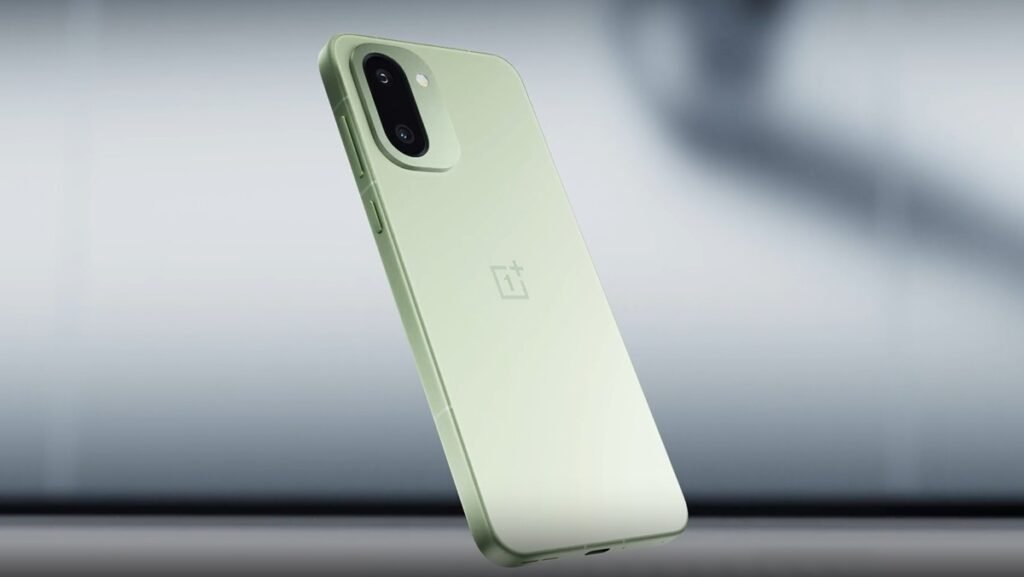
OnePlus ने आज भारत में अपनी premium smartphone lineup को और मजबूत करते हुए OnePlus 15R को लॉन्च कर दिया

अगर आप compact size में एक powerful और premium 5G smartphone ढूंढ रहे हैं, तो Vivo का नया फोन आपका

अगर आप एक नया Realme 5G smartphone (new launch) लेने की सोच रहे हैं, तो आज का दिन आपके लिए